
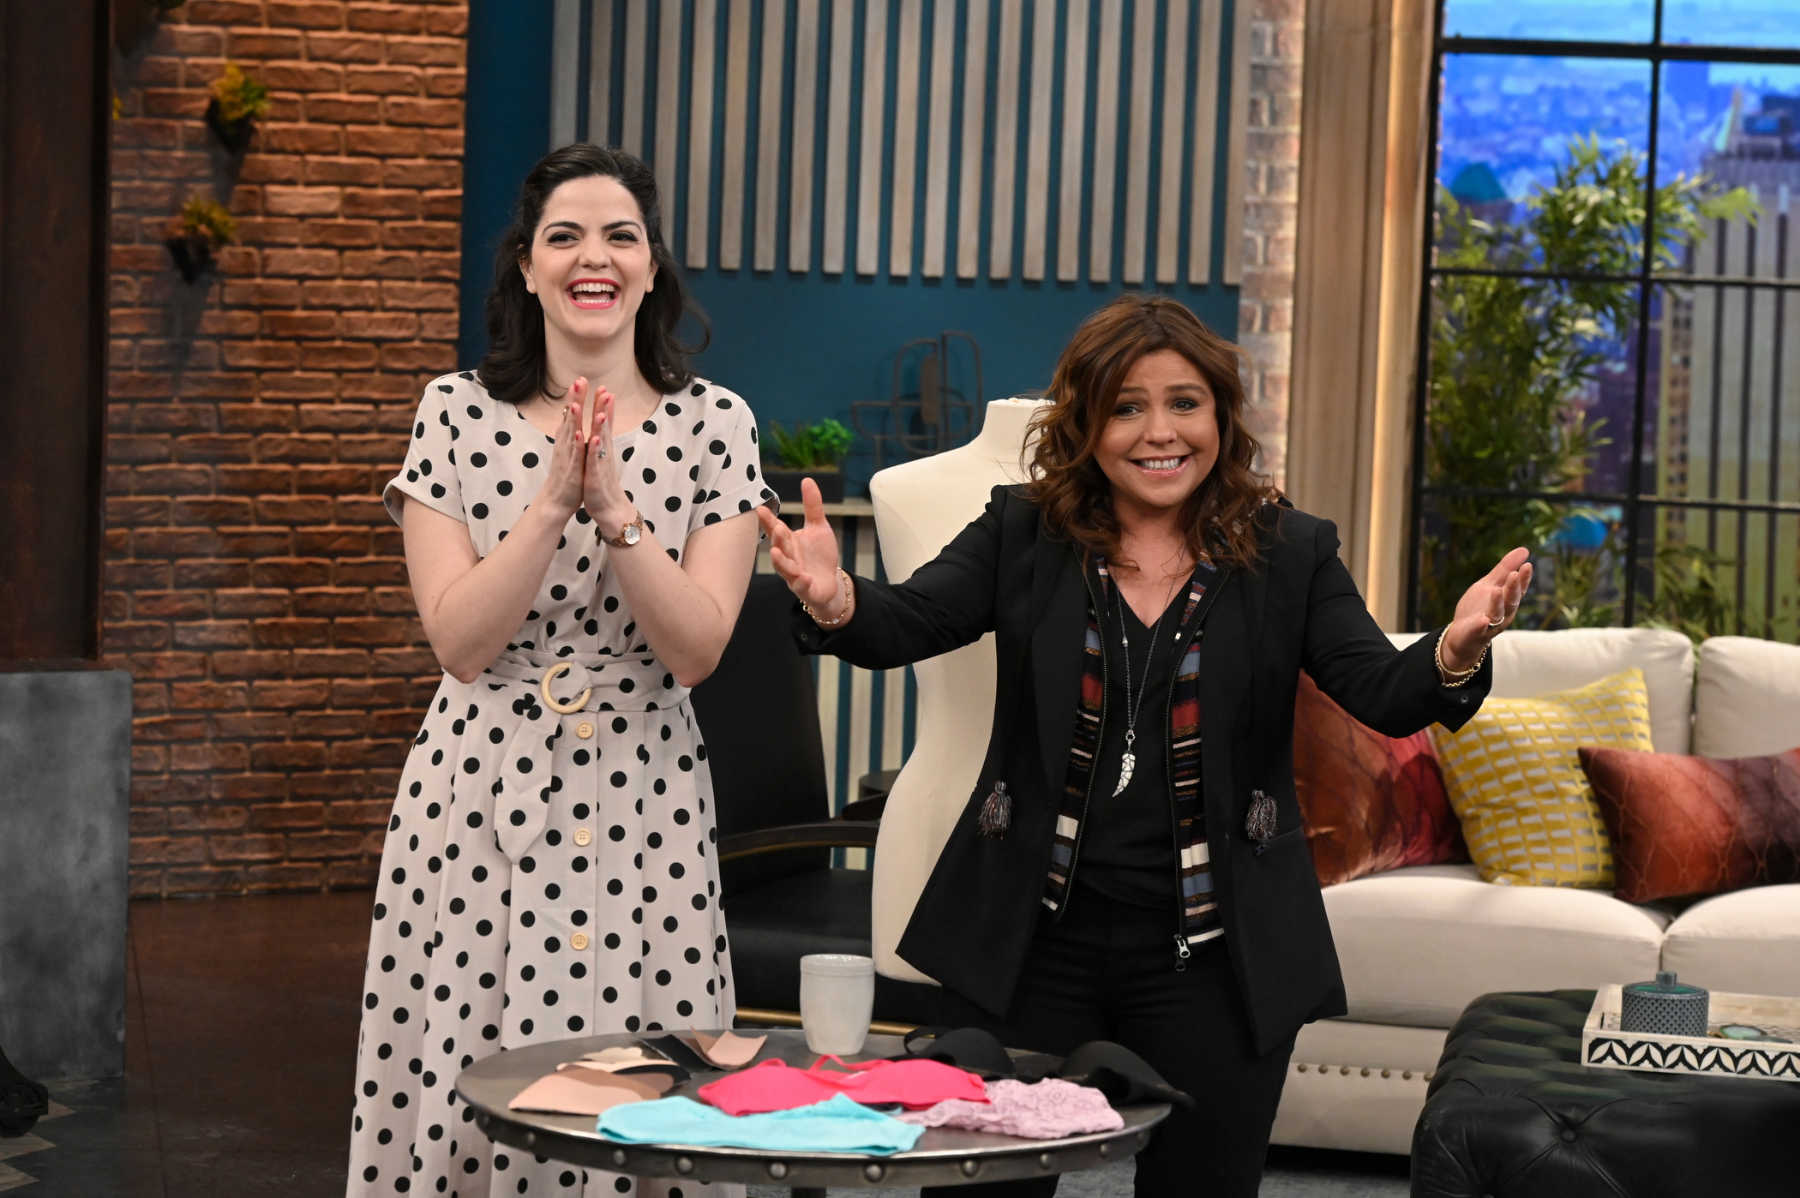
Hurray! I’m back again on The Rachael Ray Show, sharing my heart and bra fit expertise with the help of two brave viewers and several great bras (and other under-solutions). I am feeling so grateful that we were able to tape this show back on March 11th, 2020 in NYC. This was JUST before things really shifted due to the current health issues. In fact, just to be safe, the show decided (like most in New York) to cancel having a live studio audience. I found out that morning when I arrived to tape our segment. Having a live audience is SO fun and really helps me be able to teach, and helps Rachael have folks to talk and engage. Luckily, their crew and staff are so amazing and some of them left their busy desks and sat in for the audience! So thankful!
In addition to some great products to try, I shared some important adhesive bra applications and removal tips (including one very food related tip that had Rachael laughing!). Take a look below at some of my additional notes that didn’t make it on the show, links to purchase these fabulous products, and how to watch the short replay clip on the Rachael Ray website! It’s shorter than the full version that aired on March 23rd, but still full of great tips and so much hurray.
Psst! Some of the links below are partner or affiliate links. I always share my honest and expert opinion. Buy and try these for yourself and see what makes you say hurray!
Watch the clip on The Rachael Ray website!
Bra Basics
Need bra fit help? You’re not alone! Many of the thousands of people I have helped in my many years as a bra fitter (since 2005!) are still learning the basics. The most common thing I teach is how to find your bra size starting points, and to understand bra sizing, and then how to check the fit of your bra. Check out my full list of Underneath Resources for lots of (supportive) help!
Under-solution: Plunge Front Outfits
Tips for applying breast tape:
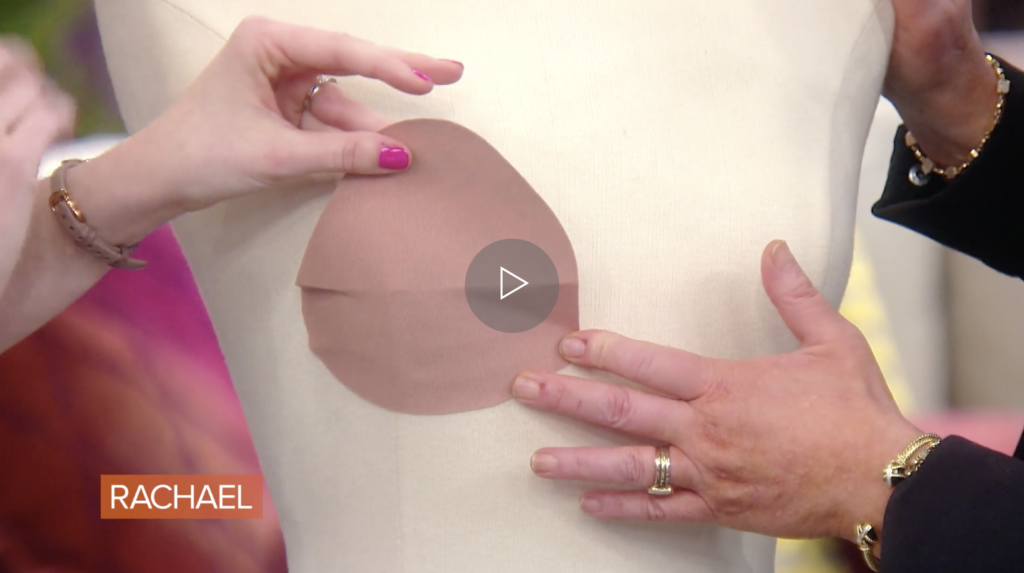
I loved showing Rachael how to apply this fabulous “bra” from Brassybra! It’s a “tape” style bra made of 97% cotton with medical grade adhesive. I like it more than strips because it has a real rounder, smooth shape to it and looks/feels like a second piece of skin! When applying any adhesive bra, I highly suggest you do not just peel and stick. Instead, take a minute to review their instructions, watch a short video, and test it out yourself. It’s worth a little extra effort ahead of time! Here is a short recap of the tips I shared with Rachael when showing her the Brassybra.
(PS: Brassybra has some great educational videos on their site so check those out when you go to buy your own set to try. They also include a test patch in their kits so you can make sure the adhesive is safe for your skin!)
- Wash Remember that ANY lotion, cream, or oil will loosen the grip. Start with fresh, clean skin. Use a basic soap or body wash.
- Air dry You can pat dry your bust and then really let your skin dry with the help of the air. Step out of the bathroom if you just took a shower, because it will be super humid in there! Let the air do its thing and dry your clean skin.
- Apply Brassybra comes with a “left” and “right”. Choose the correct one, and rotate so it’s in the correct position. (TIP: you can use the disposable nipple covers included in the kit if you want to cover up sensitive nips!) Next, peel off the bottom part of the adhesive backing first and apply in a smooth motion to your breast. Go slow and do your best with placement. Once that part is in place you can peel off the top and slightly stretch or pull the tape material to get the lift you’d like, and then apply to your skin.
- Heat it up! I love that Brassybra is heat activated! You can warm up the adhesive by rubbing it vigorously for about 60 seconds, or using a hair dryer on low. I have tried both and both seem to work great, but the rubbing also really feels like it helps it adhere to your skin.
- Cut to adjust. If the shape of the Brassybra isn’t exactly a match for your outfit, you can cut it! TIP: Try your best to use clean, no lotion hands when doing this. If you’re already wearing it, simply peel back the bra slightly past where you want to cut – then trim it. To reapply, heat/rub it again to help it stay back in place. Avoid reapplying too much! Bonus: use That Little Extra strips from Brassybra to shape your bust as needed!
- Let is set. The folks at Brassybra suggest letting the adhesive “set” before doing anything major, for at least 20-30 minutes. So before going dancing, swimming, or just walking about and about, let it rest. Use that time to do your hair or makeup, pick out your shoes, or make a 30 minute Rachael Ray meal – just saying!
- Removal. Brassybra is seriously sticky! They suggest not wearing for more than 8 hours or sleeping in it. So when you are ready to take it off, be gentle with your body. You can use an oil to aid you (like the EVOO suggestion I shared on the show!) to loosen the adhesive. Start from the bottom and slowly work your way to the top.
OK now that you know how to apply and remove it, let’s see this bra in action on a Rachael Ray viewer!
PSST! Get 20% off your Brassybra with code KIMMAY20

Doesn’t Tara look AMAZING in her Brassybra and jumpsuit? More importantly, she feels great! She used to have to wear a safety pin to keep the front closed on this plunge front romper. Now she says she feels “liberated and supported”. Hurray! Plus, she (like most of us) is a “sweater” and loves that there is no “underboob sweat” when wearing this. Plus, Brassybra is sweat and water resistant so it’s great for swimming or a humid night of dancing. Hurray!
We used cup size C-D for Tara, which is the same size I use myself. I typically wear a 32DD, so my sister size in a 34 band (which most adhesive cup sized only companies tend to use) is a D. Brassybra offers cup sizes (for some band sizes) up to a G!
Bonus: though Tara’s best match was a light skin tone option, I’m super excited that Brassybra has several skin tone shades from which to choose. It’s inclusive steps like this that make me say hurray!
PSST! Get 20% off your Brassybra with code KIMMAY20
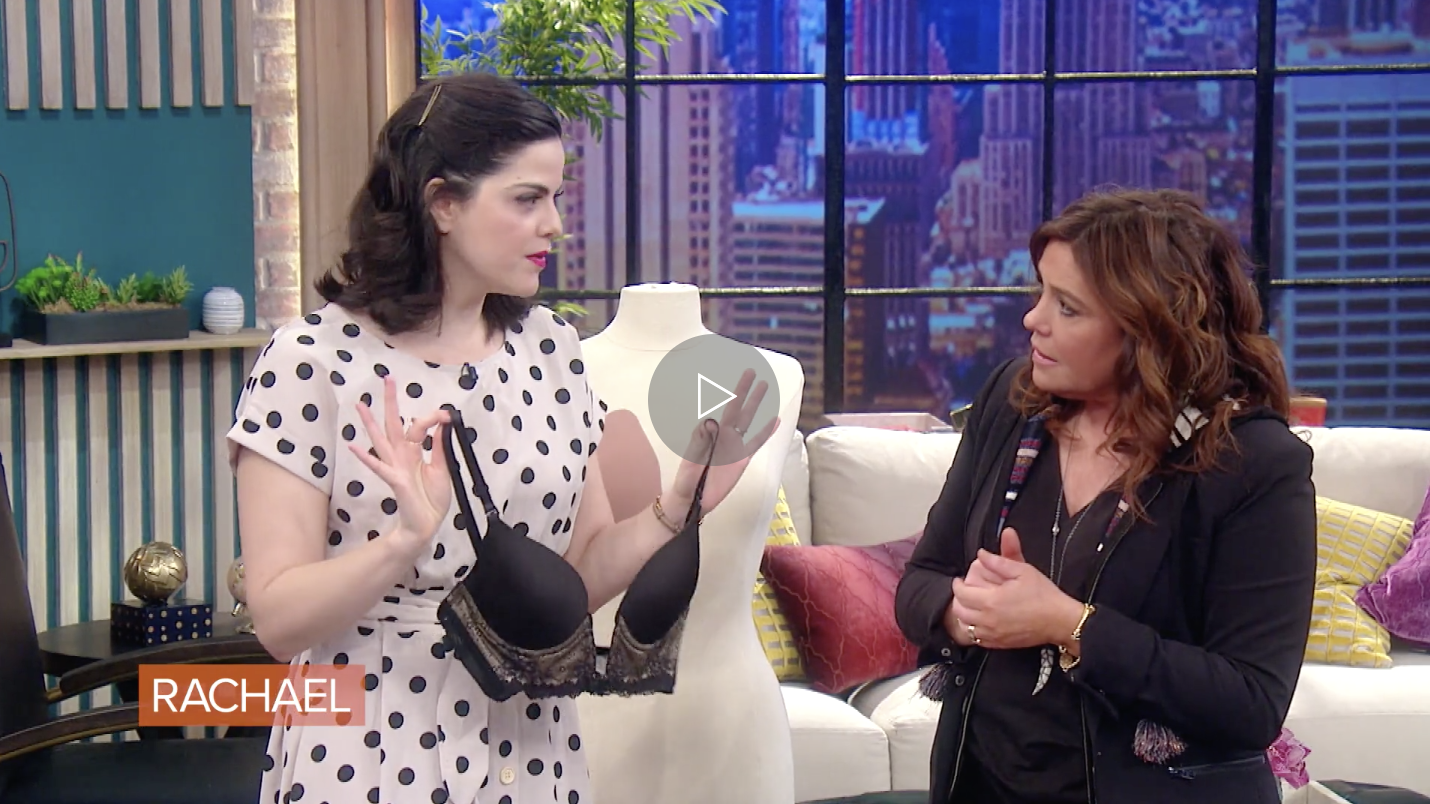
Want a plunge front alternative? Try this super plunging bra from Va Bien! This company is based in Puerto Rico (the land of mis abuelos!) and makes amazing special occasion bras with great support. They make bustiers, longline bras, basques, plunge front bodysuits, shapewear, convertible bras – you name it! This Marquise Plunge Basque also has a slightly flexible v-front, convertible straps, smooth cup (up to an E cup) and lower back. Hurray!
Bonus: You can also let your bra show! Try out a funky option or two in my blog post all about plunge front tops and what to wear underneath.
Under-solution: Low-Back Outfits

Tips for adhesive bras:
Rachael and the crew loved this fabulous seamless, sticky “bra” from NuBra! There are a lot of bras out there similar to this one, but I adore NuBra for a few reasons. One is it’s made in the USA from medical grade adhesive, it has a smooth t-shirt bra like cup, and the clip in the middle allows for some cleavage action (if you want!). Plus – it’s reusable! Here are a few ways to avoid any wardrobe malfunctions:
- Wash Just like other adhesive bras, ANY lotion, cream, or oil will loosen the grip. Start with fresh, clean skin. Use a basic soap or body wash.
- Air dry Pat dry the skin of your bust and then let ’em air dry without humidity.
- Apply Position your NuBra on the front of the bust – not underneath it like a tradition bra. Really press firmly to make sure the adhesive and your skin make contact. Try your best not to reapply over and over. If you do, wash and dry it (see below) before applying again. Tip: You can angle it up on the sides and further away to more shape in the middle.
- Clip it. I love that NuBra has a small clip in the middle. This really brings the breast shape forward and can even help you create a little cleavage if that’s the look you desire.
- Removal. NuBra is for real sticky! So be careful and go slow as you remove. I suggest unclipping first and doing one cup at a time. Start with one edge and slowly use one hand on your bust, and one on the bra while you remove it.
- Wash and dry. Because NuBra can be worn up to 25 times, it’s important to wash it after every use! They have their own wash, or use a mild soap with some water right on the adhesive of the cup. This will wash away any sweat or oils that accumulated naturally during wear. Then, clip the middle and hang the bra over a rod to dry. Once it’s dry, put it back in its case to avoid dust build-up so it’s nice and sticky again for your next wear!
OK now that you are up to speed on how to apply, remove, and wash this. It’s time to see this bra in action on a Rachael Ray viewer!

OK I’m LOVING this dress from Heidi! Poor thing had this amazing low-back dress sitting in her closet and had never worn it! Luckily, NuBra is great for low-back outfits. We chose the seamless style from NuBra (my personal favorite) but this brand makes lots and lots of sticky bra options – see what works best for you! Heidi couldn’t believe how supported and free she felt. But believe it!
We used cup size D for Heidi, which is my size, too. This surprised her a lot! So check in on your bra size starting points if you’re not sure about your typical bra size. As mentioned above, I typically wear a 32DD, so my sister size in a 34 band (which most adhesive cup sized only companies tend to use) is a D. Nubra offers cup sizes (based on the 34 band) up to an E cup!
Fun fact: I wore NuBra on my wedding day! YEP! Even on a hot summer day in NYC at the Bronx Zoo, this bra stayed in place. Hurray! You can also read more about my adventures of wearing NuBra in Paris with some additional tips in my blog post.
Bonus: We also used a light skin tone but NuBra has loads of colors, skin tone options, and even funky fashion styles from which to choose!
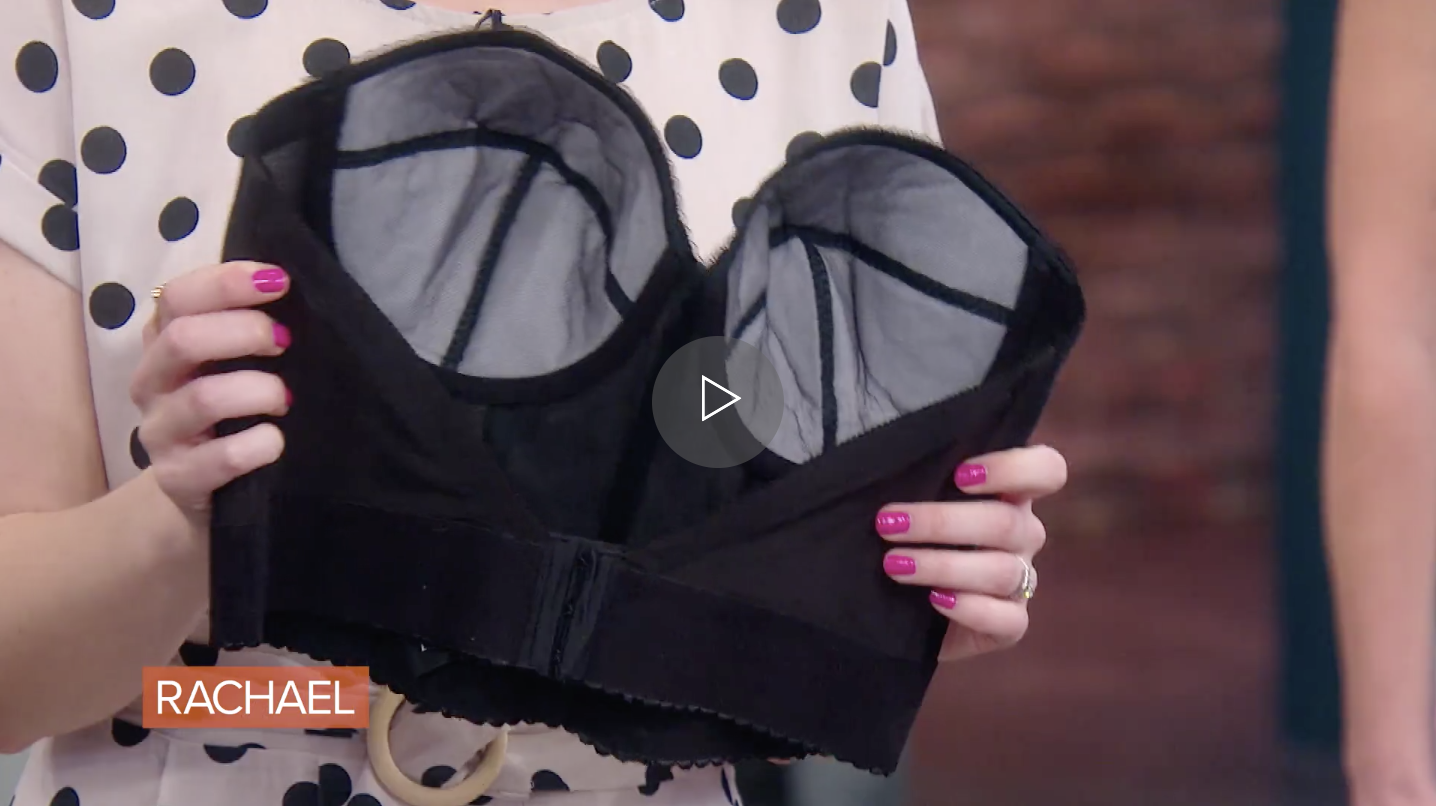
Want a low-back alternative? Try this dramatic plunge back longline bra from Dominique! This company makes some great basic bras with serious support. Their size range is very inclusive and that includes this bustier style longline bra, which fits up to a 44DD. In addition to the black I showed on the air, it also comes in ivory or white, making is a wonderful option for some brides! And while most bridal longline bras have a slight dip in the back, this one is major! Try it for yourself and see.
PS: I have actually worn this bra as a top! See what I mean and explore some of the longline bras in my blog post!
Under-solution: Open Side Outfits

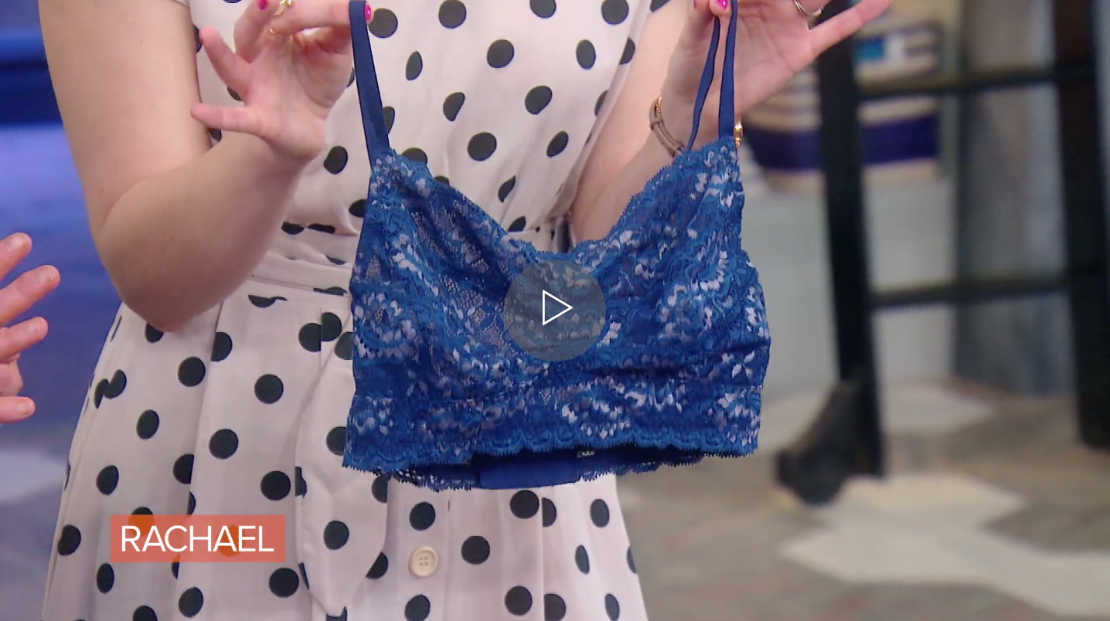
One of the best items to wear underneath a low-front, low-back, or low-sides outfit is a decorative bralette! You can choose a style and color that matches your outfit so that if it peeks out it looks like part of it. Or you can try something contrasting so it really stands out. Either way, the style is up to you! I do this all the time as you can see with this adorable Fleur’t Belle Époque bralette in blue and a lattice-work dress. The bralette not only offers coverage but a fun pop of color.
Tip: If you have a very fashionable but less supportive bralette, try layering! You can wear a stretchy and stylish bralette over a well fitting, basic bra. This is especially helpful for full bust friends who want more support, or petite friends who want more shape than what their bralette provides. Give it a try yourself!
Want some bralette ideas? Explore my favorites:
One of my favorite bralettes to do this with (and in general) the bra sized bralette from Montelle. This Canadian company makes a bralette that fits better than most because of its adjustable (and convertible!) straps, adjustable band, and great size range. I wear the 32D/E size in this bra. The band ranges from 30-40, and the cups go all the way to a G in some band sizes! Remember: support comes from a good fit.
Bonus: In addition to the fit, this lace bralette is available in many many many colors. It’s so pretty and I let it peek out of my outfits and shine out in the world all the time. So thankful that this bralette exists.
Want more ideas? Try my What to Wear Underneath Low Armholes post!
Special thanks to these brands
for helping me help these two wonderful women say:
hurray for lingerie!
PS I get lots of questions about what I wear on the air! I bought this beautiful polka dot dress from Shein!
